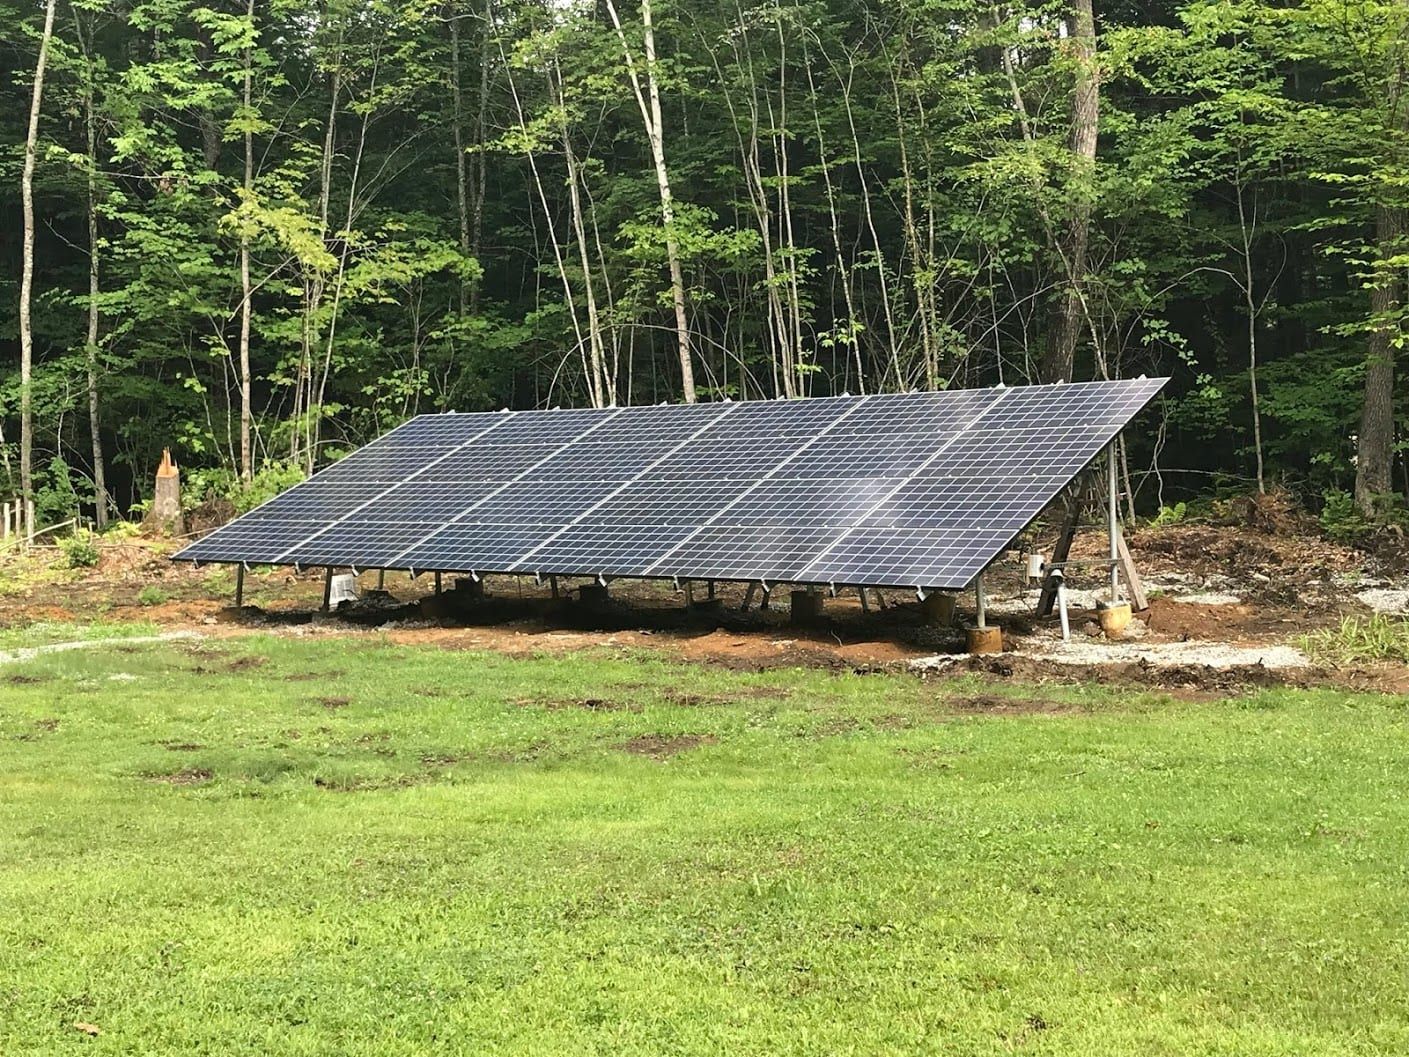
7 Tips for a Successful DIY Ground Mount Solar Project

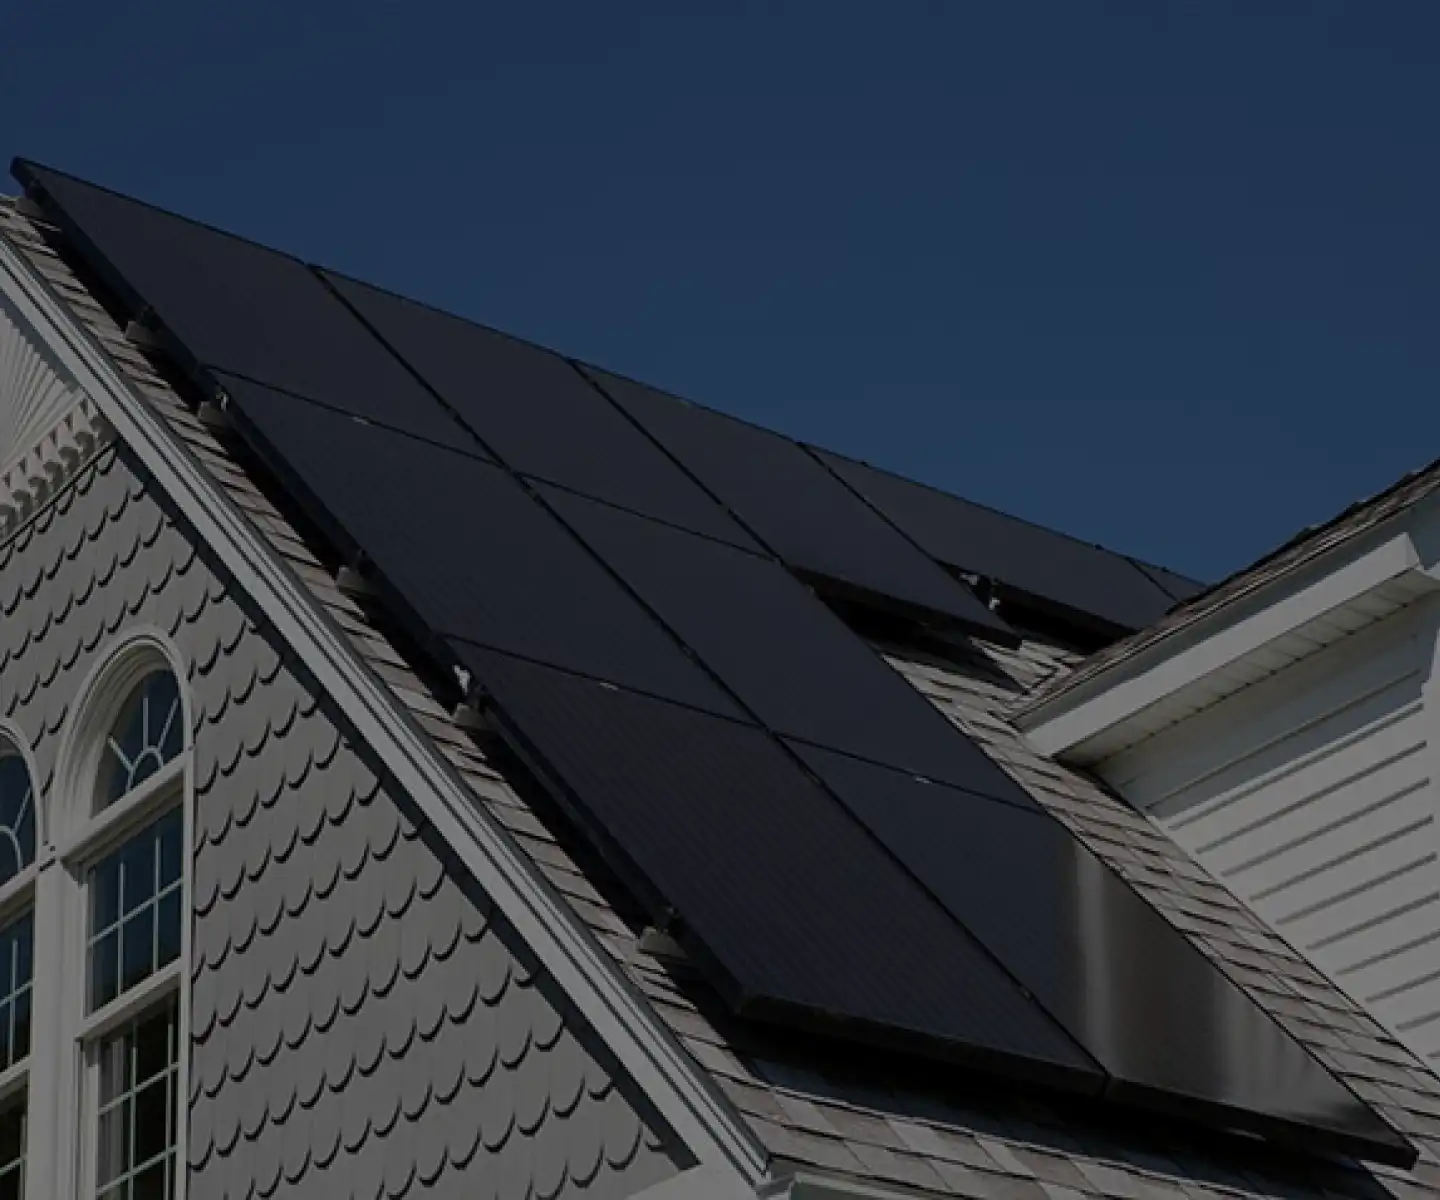
When most people think about solar energy systems, they picture solar panels installed on the roof, but that isn’t always the case. Not all roofs are suitable for solar due to weight and structural issues.
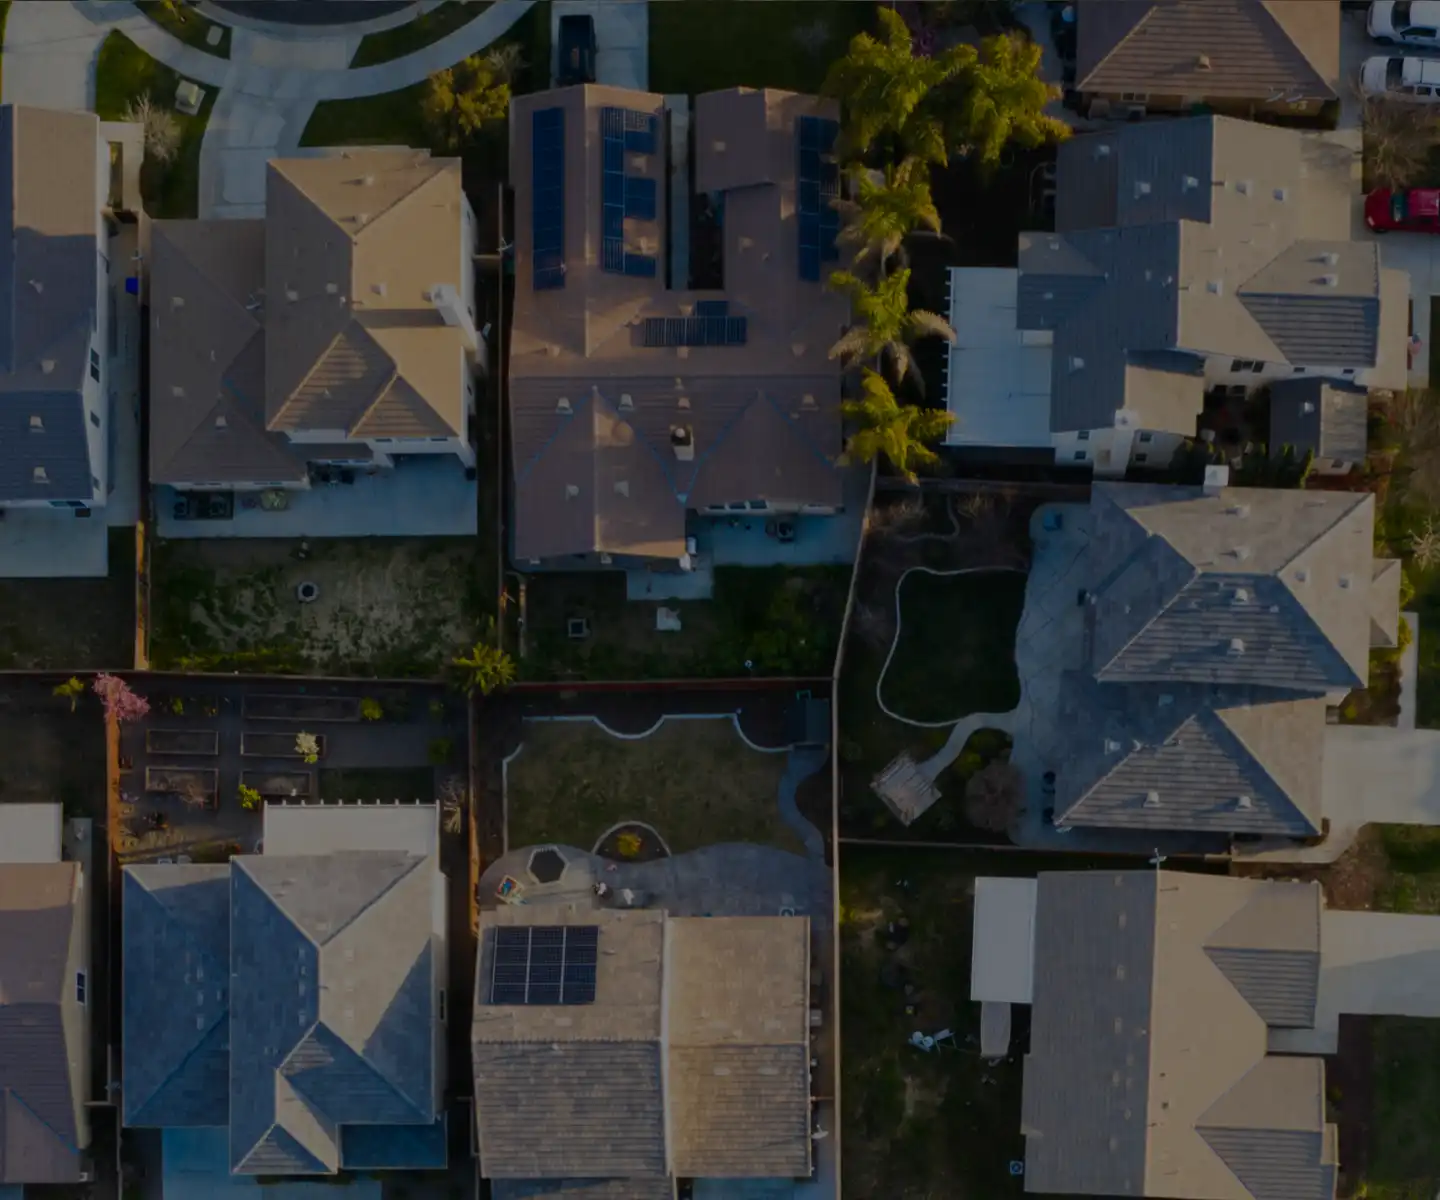
But that shouldn’t prevent you from installing solar. If you have a larger property, chances are you have space for a ground-mount solar system. In fact, DIY solar ground mount installation is typically easier and safer than roof-mounted solar systems. Here are some tips to help make your DIY solar ground mount project go a little smoother.
Read more: Step-by-Step Guide for DIY Solar Installation
Prepare & Plan Your DIY Grund Mount Solar Project
- Get a permit – Before you start your DIY ground mount solar project, you need a permit. It is required for even the smallest solar power system, so check what type of permits you need and how to obtain them.
- Setbacks – Check for local requirements on offsetting structures from property lines and existing buildings. Most cities and counties mandate at least 5’. However, they can require as much as a 30’ setback from the property line if you’re adjacent to a road or are in a rural area prone to wildfires.
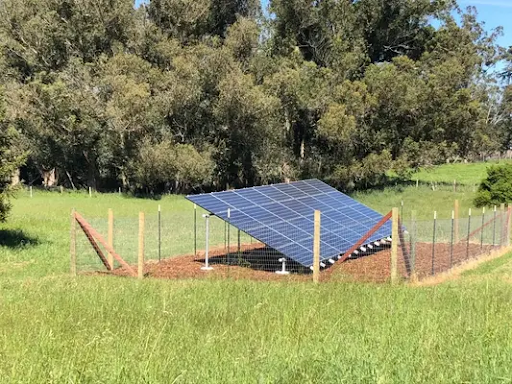
- Safety – There may also be requirements to protect the ground-mount solar system with a fence and/or have a 10’ perimeter around it that is free of vegetation.
- Landscape – Ensure you also inquire about flood zones or water wash areas that run through your property, as you may not be allowed to build near them. Even if local authorities don’t actively enforce these rules, you should think twice about installing a ground-mount solar system in areas that might flood during heavy rains or spring thaws.
Choose the Right Panel Size
Installing a DIY solar ground mount means you don’t have to haul solar panels up to the roof. However, you should still be wary of choosing extra-large solar panels. Solar panels that are almost 7’ long can weigh up to 75 pounds each. Even though you don’t have to lug the solar panels up a ladder, you still need to move and lift them high enough to install them on the rack.
At the end of the day, the last solar panel you lift will feel much heavier than the first one you picked up in the morning!
Calculate how many solar panels you need based on energy usage and geographic location.
Use Standard Solar Panel Racking Systems
While you might be able to save money on your ground mount solar project using parts you have on hand, you will pay for it in headaches at the building department, along with potential structural issues.
It is always best to use a pre-designed solar mounting structure. This can be a pole mount, complete racking system or hardware designed to be used with galvanized steel pipes.
One of the many advantages of pre-designed solar ground mount systems is that they can withstand high winds. They typically come with an engineering report to prove to the building department they can handle the wind load, making permit approval a breeze.
Tilt Wisely
For flat grounds, the ideal orientation for a solar panel is facing due south at a tilt angle of 30 degrees in the southern U.S. and a tilt angle of 40 degrees in the northern states.
However, you need to factor in the distance from the ground. The lower end of the first row of solar panels must be at least 18” above the ground. And with a steep tilt, the back end can get very tall, making for a challenging installation process. Tilting your racking system to a 15-degree angle makes the solar installation easier and will only make a 5% to 10% difference in energy production.
If you have a south-facing hill on the property, you can install your solar system there. Or break it up into multiple smaller ground racks or pole mounts for an easier installation.
Read more: What's the Best Angle for Solar Panels?
Beware of Hillside Hazards
If you are installing your ground mount solar system on a hillside, here are a few tricks to make the project easier:
- Cut stairs down the hill on one or both sides of your array to make it easier to get tools, equipment and solar panels where you need them. Railroad ties work great as stair steps.
- If your feet slide in loose dirt, try wearing baseball or golf cleats to give you extra traction.
- If the hill is steep or has a cliff or a road at the bottom, tie yourself off with a harness or rope to be safe. You can also use the rope to help you get back up the hill when your legs tire.
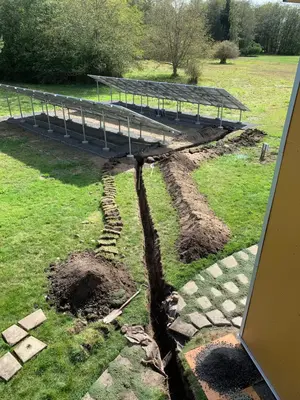
Manage Your Conduit
Ground mounts tend to have long conduit runs. However, pulling the wire can be easy when planned carefully. Here are some tips on managing your conduit:
- Ensure all the bells for the junctions open toward the overall uphill direction when installing PVC conduit in the trench.
- Tie a light string to a grocery bag and insert it in the uphill end of the conduit once the conduit is all in place.
- Use a shop vac at the downhill end of the conduit to pull the bag and string through.
- Tie a strong rope to the string and use the string to pull that uphill, then tape your wire to that rope and pull it downhill. Pulling downhill is more manageable, and your wire won’t get snagged on the ends of the conduit since the bells are facing in the right direction.
- Use a conduit that is one size larger than required by code to make pulling the wire easier.
Prepare for Inspection
If you’re installing concrete footings for your DIY ground mount solar project and need to dig holes, a “footing inspection” will be required. The building department needs to inspect the holes before pouring the concrete inside. This is done to ensure they have the proper depth and width before they get permanently filled.
Before scheduling the inspection, check the weather. Significant rain could fill the open holes, which could cause you to fail the inspection and set your project completion back.
Read more: How to Pass a Solar Inspection
Get the Necessary Equipment from a Reputable Company
Your DIY ground mount solar system should serve you for decades to come. To secure quality and efficiency, buy your equipment from a reputable company that offers technical support as part of their package, like GoGreenSolar.
Whether you need help with permitting, designing the layout, choosing the right ground mount racking system, or pulling through with the installation, our team of experts is here to help at every step of the way.
Don’t let the sun set on your energy-saving goals! For more information, contact us here to start your DIY solar ground mount project today.